
The Ultimate Guide to the Best Mini War Base Layout for Maximum Profit and Gems
Learn how to optimize your Mini War base layout to boost money production and gem mining efficiency with these expert strategies and tips.
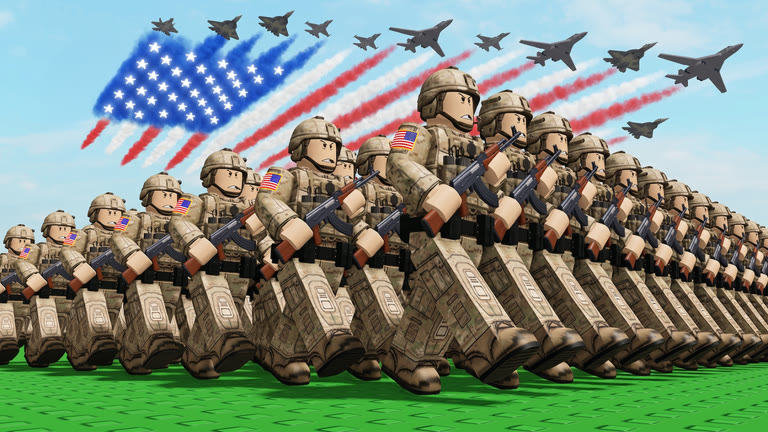 Official mediaLearn how to optimize your Mini War base layout to boost money production and gem mining efficiency with these expert strategies and tips.YouTube
 Master Your Mini War Base Layout for Exponential Growth
Are you struggling to keep your resources flowing in Roblox’s fast-paced strategy game? Optimizing your mini war base layout is the single most effective way to transition from a struggling starter to a top-tier player. By strategically placing your production buildings and gem miners, you can significantly increase your passive income, which is why finding the right mini war base layout is essential for long-term dominance.
Efficiency is the name of the game. If your buildings are scattered or poorly defended, you are leaving valuable currency on the table. This guide breaks down the best practices for building an impenetrable and highly profitable setup that will keep your coffers full.
Understanding Base Efficiency and Resource Flow
In Mini War, space is your most valuable commodity. Beginners often make the mistake of placing buildings randomly, which creates bottlenecks for resource collection and leaves defensive gaps. To maximize your output, you need a layout that prioritizes the proximity of your most valuable assets to your collection points.
When designing your base, consider the “Hub and Spoke” model. Place your central storage or main command structure in the middle, with high-production buildings radiating outward in a protected perimeter. This minimizes travel time for resource collection and ensures that even if part of your base takes damage, your core economy remains functional.
| Component Type | Role in Base | Efficiency Priority |
|---|---|---|
| Resource Generators | Money Production | High |
| Gem Miners | Premium Currency | Critical |
| Defensive Turrets | Base Protection | High |
| Storage Units | Resource Capacity | Medium |
Advanced Strategies for Gem Miner Placement
Gem miners are the lifeblood of your progression. Unlike standard money printers, these buildings are often targeted first by attackers. According to community reports, the most successful players hide their gem miners behind multiple layers of walls or deep within the center of their base configuration.
If you are looking to maximize your gem yield, you must ensure these buildings are never on the outer edge of your territory. Utilizing a “Clone” strategy—where you replicate your most efficient production zones—can also help you scale your income. By grouping your gem miners in a dedicated, heavily fortified quadrant, you create a "high-value target" zone that forces opponents to expend significant resources to reach your rarest assets.
Comparison of Layout Philosophies
Not every base is designed for the same goal. Some players prefer a balanced approach, while others go "all-in" on aggressive resource farming. The table below compares these two popular styles of base building.
| Layout Style | Primary Goal | Defense Level | Risk Factor |
|---|---|---|---|
| Balanced | Stability & Growth | Moderate | Low |
| Economic Rush | Maximum Income | Low | Very High |
| Fortress | Base Security | Extreme | Moderate |
| Hybrid | Tactical Flexibility | High | Moderate |
Defensive Tactics for Your Base Layout
A great mini war base layout is only as good as its ability to survive an enemy raid. It is not enough to simply produce money; you must protect it. Strategic placement of defensive structures is just as important as your economic buildings.
Many veteran players suggest using a "honeycomb" wall structure. By creating individual cells for your buildings, you force invaders to break through multiple walls just to reach a single unit. This buys your automated defenses the time they need to eliminate the threat. Always ensure your turrets have overlapping fields of fire to cover any potential blind spots in your perimeter.
For more detailed information on game mechanics and community-tested strategies, you can check out the official Roblox Mini War Wiki for ongoing updates and patch notes.
Step-by-Step Guide to Optimizing Your Production
If you feel your base has become stagnant, follow these steps to perform a "base audit" and improve your efficiency:
- Clear the Clutter: Remove any low-level, non-essential buildings that are taking up space near your core.
- Centralize High-Value Assets: Move your gem miners and primary money printers to the most secure, central location.
- Upgrade Perimeter Walls: Use the currency you’ve saved to reinforce the outer shell of your base.
- Test Your Flow: Observe your builders and collectors for five minutes. If they are walking long distances, your layout needs further refinement.
- Implement Redundancy: If you have the space, build a second, smaller production cluster on the opposite side of your base to avoid losing all income in one raid.
The Importance of Scalability
As you level up, your base requirements will change. A layout that works at level 10 will likely be insufficient at level 30. Successful players constantly iterate on their design. When you unlock new building types, don't just squeeze them into the remaining empty tiles. Instead, pause, tear down a non-essential section, and redesign that area to accommodate the new assets.
Remember that player experience suggests that the best layouts are those that evolve. Do not be afraid to completely overhaul your base if you find that your current design is consistently failing during enemy attacks or providing sub-par production rates.
Frequently Asked Questions
Q: What is the most important building to protect in a Mini War base layout? A: Your gem miners are the most critical buildings to protect. Since gems are the premium currency, they are the primary target for raiders, and losing them slows down your progression significantly.
Q: How often should I redesign my base? A: You should look at your layout every time you unlock a major new defensive structure or production building. A good rule of thumb is to evaluate your base design every 5–10 levels to ensure it remains competitive.
Q: Can I have multiple base layouts? A: While the game typically limits you to one active base configuration, you can save designs or blueprints if the game version allows. Always keep a screenshot of your most successful layout before you start experimenting with new designs.
Q: Does building density affect my base performance? A: Yes. High building density can make it harder for enemies to navigate your base, but it can also make your structures vulnerable to area-of-effect damage. Aim for a balanced spacing that optimizes both movement and defense.
Related Guides
Is the Mini War Air Fortress Worth the Cost? A Deep Dive into the New OP Unit
Thinking about buying the new Mini War Air Fortress? We break down its stats, combat performance, and whether it's truly the game's most overpowered unit.
Is the Mini War Antimatter Reactor Worth the 50 Billion Price Tag? A Deep Dive Review
Thinking about buying the expensive Mini War antimatter reactor? We break down the costs, production efficiency, and whether it’s worth your hard-earned cash.
Is the Mini War Mega Drill Worth It? A Deep Dive into Roblox Factory Efficiency
Thinking of unlocking the Mini War mega drill? We analyze its production stats, rarity, and whether this rare building is actually worth your Robux.
Is the Mini War Quantum Core Generator Worth the 5,400 Robux Investment?
We analyze the Mini War quantum core generator to see if this expensive building lives up to the hype and fits into your endgame economy strategy.